Are you looking to remove your microbladed eyebrows but don’t know where to start? You’ve come to the right place. Whether you’re unsatisfied with the results, experiencing skin issues, or simply ready for a change, preparing for microblading removal is crucial to ensure a safe and effective process. In this blog post, we’ll guide you through the necessary steps, from understanding the removal techniques to managing aftercare and results. Let’s get your brows back to their natural beauty!
What is Microblading Removal

Microblading has become a popular choice for achieving flawless brows. However, its permanence means that not everyone remains happy with their results over time. Perhaps the color has faded unfavorably, the shape isn’t what you expected, or you’re experiencing an allergic reaction. Regardless of the reason, understanding how to prepare for microblading removal can help you make informed decisions and achieve the best possible outcome.
Understanding the Microblading Removal Process
Microblading is a semi-permanent makeup technique where pigment is manually implanted into the upper layers of the skin using a fine blade. This creates hair-like strokes that mimic natural eyebrows. The procedure is known for its natural-looking results and can last anywhere from one to three years, depending on skin type, lifestyle, and aftercare.
Why Might Someone Need Removal?
There are several reasons why someone might seek microblading removal. Common reasons include dissatisfaction with the results, changes in personal style, poor initial application, and allergic reactions. Additionally, as the pigment fades over time, it can change color and become less appealing, prompting the need for removal.
Key Factors to Consider Before Removal
Before proceeding with microblading removal, it’s essential to consider several factors. First, assess the age of your microblading; older pigment is often easier to remove. Second, consider your skin type and health conditions, as these can affect the removal process. Lastly, research and choose a reputable professional who specializes in microblading removal to ensure a safe and effective procedure.
Preparing for Microblading Removal

Consultation with a Professional
The first step in preparing for microblading removal is scheduling a consultation with a certified professional. During this consultation, the specialist will evaluate your skin and the microblading job, discuss your expectations, and recommend the most suitable removal technique. This is also a great opportunity to ask any questions you may have about the process.
Steps to Take Before the Procedure
Preparation is key to a successful microblading removal. Follow these steps to ensure you’re ready for the procedure:
- Avoid Sun Exposure: Limit sun exposure and avoid tanning beds for at least two weeks before the removal to prevent skin irritation.
- Discontinue Skin Treatments: Stop using any retinoids, acids, or exfoliating treatments on your eyebrows at least one week before the appointment.
- Stay Hydrated: Keep your skin well-hydrated by drinking plenty of water and using a good moisturizer.
- Avoid Alcohol and Caffeine: Refrain from consuming alcohol and caffeine 24 hours before the procedure, as they can increase skin sensitivity and bleeding.
Managing Expectations
It’s important to have realistic expectations going into the removal process. Understand that multiple sessions may be required to achieve the desired results, and complete removal may not always be possible. Your specialist will provide a more accurate estimate based on your individual case.
The Microblading Removal Procedure

Overview of the Process
Microblading removal involves breaking down the pigment particles in the skin so they can be naturally eliminated or extracted. The process varies depending on the removal technique used but generally involves multiple sessions spaced several weeks apart to allow the skin to heal between treatments.
Types of Removal Techniques
Laser Removal
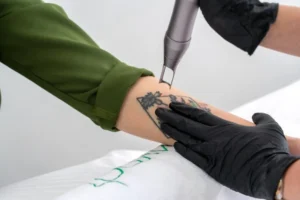
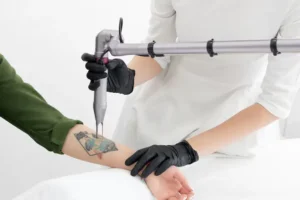
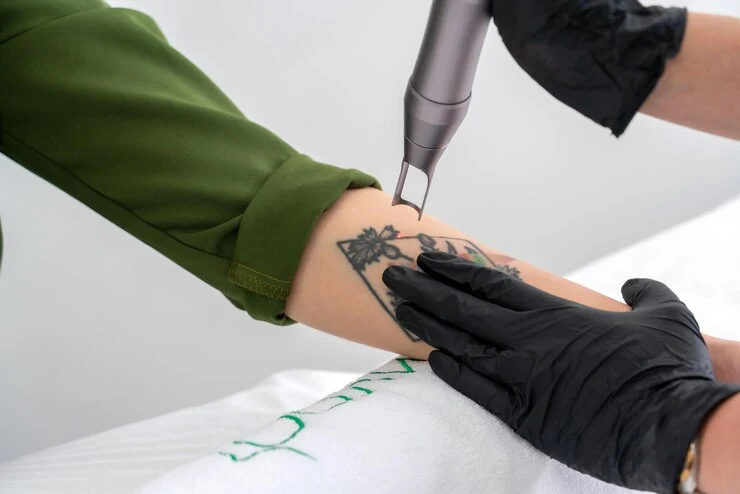
Laser removal is one of the most common techniques for removing microblading. A laser targets the pigment particles, breaking them down so the body can absorb and eliminate them. This method is effective but may require several sessions and can be uncomfortable.
Saline Removal
Saline removal involves injecting a saline solution into the microbladed area, which lifts the pigment out of the skin. This method is gentler than laser removal and can be effective for lighter pigments. However, it may also require multiple sessions.
Glycolic Acid Removal
Glycolic acid removal uses a glycolic acid solution to break down the pigment and lift it out of the skin. This method is less common but can be effective for certain skin types and pigment colors.
Pain Management During Removal

Pain management is an important consideration during the removal process. Most professionals will apply a topical numbing cream before the procedure to minimize discomfort. You may also experience some stinging or burning sensations during the treatment, but this should be manageable. Communicate with your specialist about your pain tolerance and any concerns you may have.
Aftercare and Recovery

Post-Procedure Care Instructions
Proper aftercare is crucial for a successful recovery and optimal results. Follow these post-procedure care instructions:
- Keep the Area Clean: Gently clean the treated area with a mild cleanser and water. Avoid using harsh products or scrubbing the area.
- Avoid Sun Exposure: Protect the treated area from direct sunlight by wearing a hat or using a high-SPF sunscreen.
- No Makeup: Avoid applying makeup to the treated area until it has fully healed to prevent infection and irritation.
- Moisturize: Keep the skin hydrated with a gentle, fragrance-free moisturizer.
Managing Discomfort and Healing
It’s normal to experience some redness, swelling, and tenderness in the treated area after the procedure. To manage discomfort and promote healing, apply a cold compress to the area, take over-the-counter pain relievers as needed, and avoid picking or scratching the treated skin.
Results and Future Steps
What to Expect After Removal
After the removal process, you may notice immediate lightening of the pigment, but full results will take time to develop as your skin heals. Expect to see gradual fading over several weeks, and keep in mind that multiple sessions may be required for complete removal.
Options for New Eyebrow Solutions
Once your microblading has been successfully removed, you may want to explore other eyebrow solutions. Options include traditional eyebrow makeup, eyebrow tinting, henna brows, or opting for a different semi-permanent makeup technique. Consult with a brow specialist to determine the best option for your needs and preferences.
Conclusion and Resources
Preparing for microblading removal is a multi-step process that involves careful planning, consultation with a professional, and diligent aftercare. By following these guidelines, you can ensure a safe and effective removal experience that restores your natural brows and sets the stage for future brow enhancements.

